
Last updated October 31, 2026
 Wrought iron
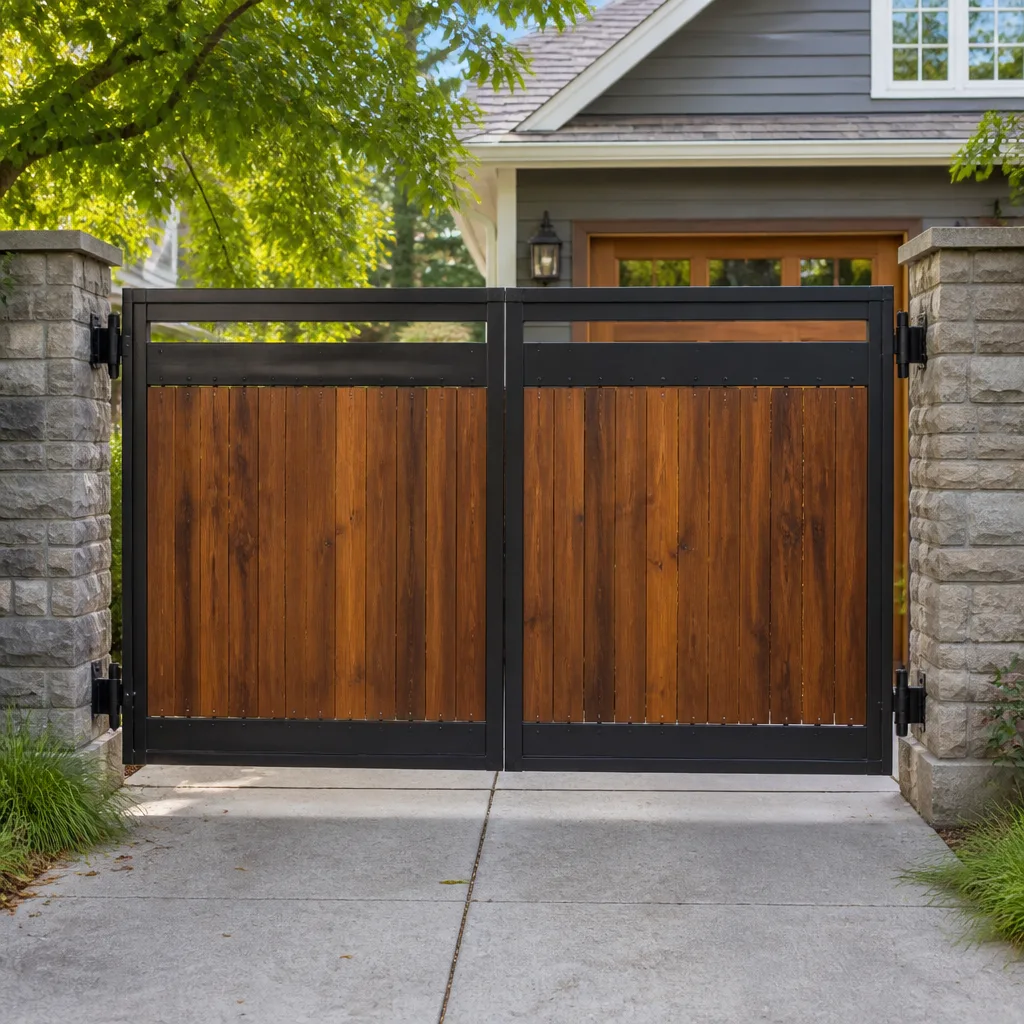 Wood & steel frame
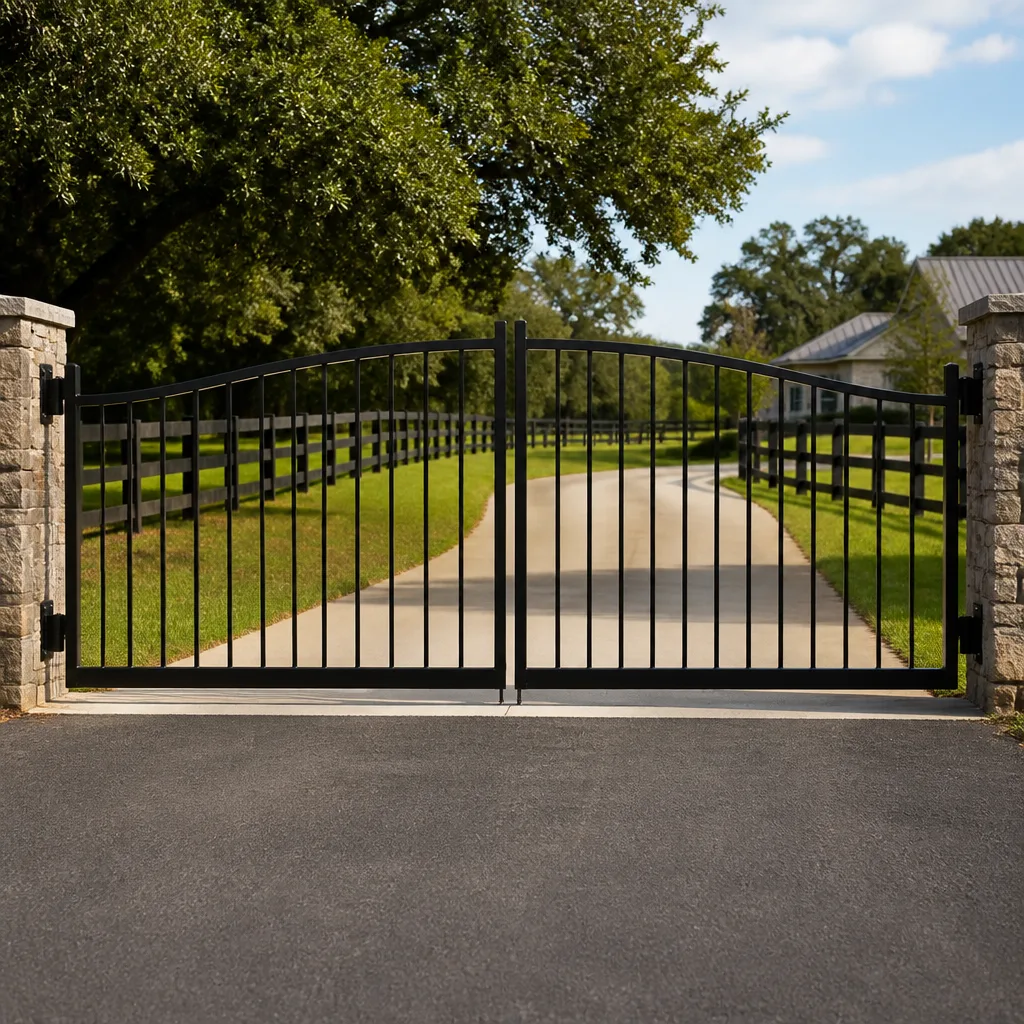 Farm & ranch
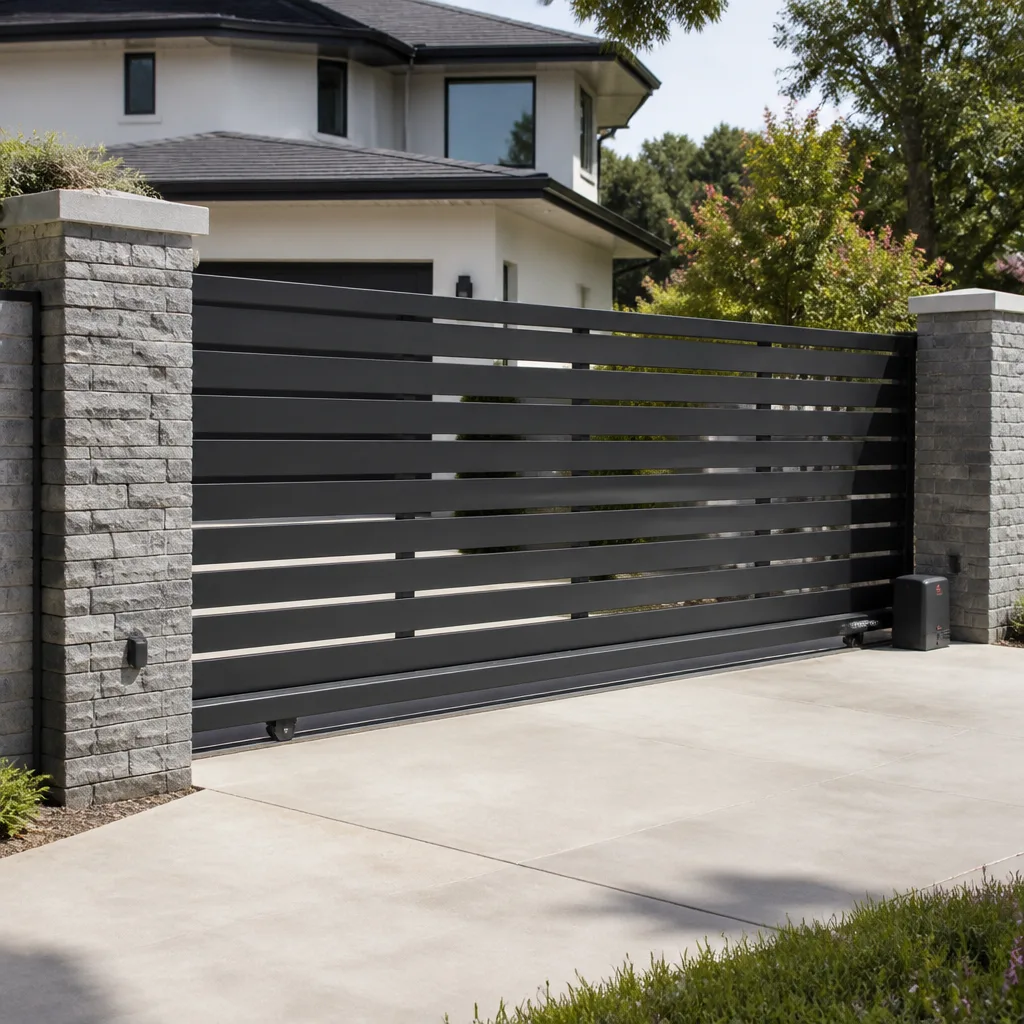 Sliding driveway gates
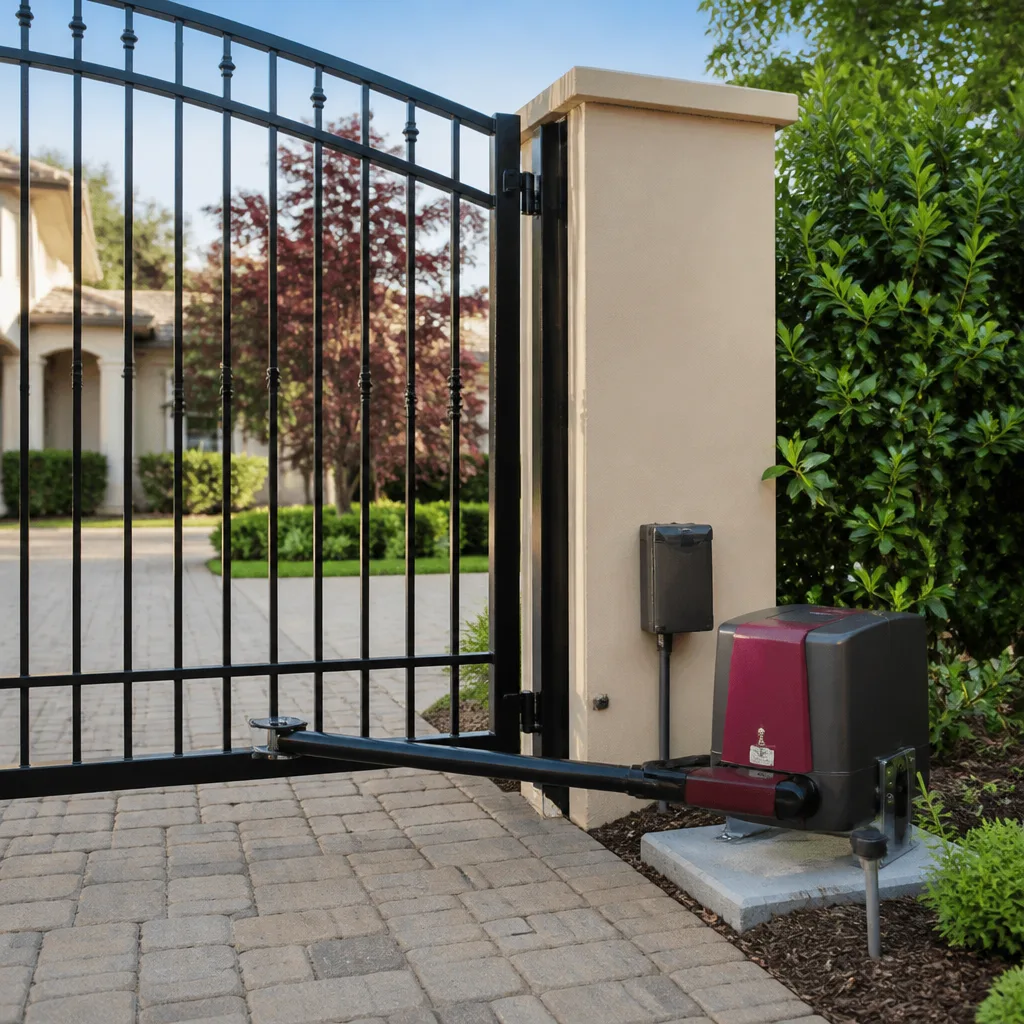 LiftMaster operators
Free on-site gate assessment - hinges, posts, and your LiftMaster or Nice gate operator checked before anything is quoted
The assessment is free and the quote is the invoice.
Get your free estimateDIY vs Professional Gate Repair: The Anaheim Homeowner’s Decision Guide
Most gate repair guides start with the wrong question. They ask, “How handy are you?” The better question for an Anaheim homeowner is, “What does this specific task expose you to under California law, and what does it do to your operator’s warranty?” A Mighty Mule swing arm that needs a limit switch tweak is one thing. A LiftMaster control board wired into a 120V circuit is another. This guide draws the actual lines: what you can safely handle, what you shouldn’t touch, and what it costs when a “simple fix” goes wrong. We’ll cover warranty implications, UL 325 liability, and the diagnostic steps that save you a service call fee in Anaheim.
Styles & brands we work with
Quick Answer
DIY gate repair in Anaheim is safe for a handful of tasks: lubrication, sensor cleaning, remote reprogramming, and limit switch adjustments. Anything involving electrical wiring, control boards, structural post work, or warranty-covered operator internals should go to a licensed gate specialist. The dividing line isn’t your skill level, it’s California electrical code, manufacturer warranty terms, and UL 325 entrapment protection law.
Table of Contents
- The Real Divide: Not Skill, It’s Liability
- The Warranty Reality: What DIY Does to Your Operator Coverage
- UL 325 and California: The Legal Standard Most DIYers Miss
- Genuinely Safe DIY Tasks: What You Can Do This Weekend
- Never DIY: The Tasks That Require a Licensed Tech
- Diagnostic Steps You Can Run Before Calling Anyone
- When a Simple Fix Masks a Deeper Problem
- What Gate Repair Actually Costs in Anaheim
The Real Divide: Not Skill, It’s Liability
Here’s the thing nobody tells you. A homeowner in Anaheim can follow a YouTube tutorial, replace a gate operator’s capacitor, and the gate might work fine. For a while. Then a sensor fails, the gate reverses onto a car, and the insurance company starts asking who last opened the control box. That’s not a worst-case scenario, it’s the reason most gate manufacturers stamp warranty void language on their units. The DIY-versus-pro decision has two layers most guides never mention. The first is technical: can you physically do the work? The second is legal: can you afford to be the person who did the work when something fails?
Anaheim’s specific mix of single-family homes, HOA communities, and aging 1980s and 1990s gate installations means you’re often working on equipment that predates current safety standards. A gate installed before UL 325’s 2016 update may already be non-compliant. When you open that control box and make changes, you’re not just maintaining the gate, you’re becoming the responsible party for its safety compliance. That’s a heavy label to put on a Saturday afternoon project.
We’ve walked onto properties where a homeowner replaced a hinge bolt with one from Home Depot, not realizing the original was a shear pin designed to fail under specific load. The gate worked for three months. Then it didn’t. The repair cost triple what the correct part would have. That’s the pattern: DIY isn’t about the fifteen minutes of work. It’s about the three months of hidden consequences.
The Warranty Reality: What DIY Does to Your Operator Coverage
Open up a LiftMaster operator and you’ll find tamper-evident stickers on the control board mounting screws. Break those stickers, and the manufacturer has grounds to deny warranty coverage. It’s not a suggestion. It’s in the warranty terms. FAAC, the Italian manufacturer behind much of Anaheim’s commercial and high-end residential gate equipment, takes the same position. Elite and Mighty Mule units carry similar language. The brands spell it out: unauthorized service voids coverage.
What does that actually mean for you? Here’s the practical breakdown:
- Warranty length matters. Most residential gate operators carry a one to two year parts warranty. Commercial units from FAAC or BFT often run longer on specific components. A DIY repair inside that window risks everything.
- “Opening the unit” is the trigger. Many people think warranty void means “you broke it.” The language actually says unauthorized access to the internal components voids coverage. You don’t have to damage anything. Just opening the housing and touching the board can do it.
- Partial repairs void the whole thing. If you replace a gear on your own, the manufacturer won’t cover the motor failure six months later. You’re not saving one repair, you’re forfeiting the entire warranty.
- Professional service preserves it. When a gate specialist works on a LiftMaster or FAAC under warranty, the manufacturer honors the claim because authorized service records exist.
For Anaheim homeowners with recently installed operators, especially on higher-end properties in Anaheim Hills, this alone should settle the question. If your gate operator is under two years old, everything inside that housing is a no-touch zone. The manufacturer’s position, not ours, is the law of your warranty contract.
Quick reality check: A warranty-covered operator repair costs you nothing. A DIY mistake on that same operator costs you the full replacement. In Anaheim, a new mid-range operator installed typically runs $1,200 to $2,400 depending on brand and gate configuration. That’s the gamble you’re taking with an allen wrench and good intentions.
UL 325 and California: The Legal Standard Most DIYers Miss
UL 325 is the national safety standard for automated gate operators. It exists because gates have killed people. Children, mostly, but also adults caught between a moving gate and a fixed object. The standard mandates entrapment protection: photo eyes, reverse edges, and force limits that stop a gate when it encounters resistance. Every automated gate in Anaheim, residential or commercial, is legally required to meet this standard.
Here’s what you’re accepting when you DIY an automated gate repair:
- You become the responsible party. If a gate you serviced injures someone, the investigation looks at who last modified it. A paid invoice from a licensed contractor shifts that liability. A receipt from Amazon for a sensor you installed yourself does not.
- Entrapment protection must be verified after any work. When a professional replaces an operator or control board, they run a series of force and reversal tests using a UL 325-compliant test device. Most homeowners don’t own one. Fewer know the test exists.
- Bypassing safety devices is never okay. We’ve seen gates where a frustrated homeowner disconnected a photo eye because it kept triggering falsely. That’s not a repair, that’s a loaded liability. The gate will injure someone, and the reason will trace back to that disconnect.
- California’s climate complicates sensors. Anaheim’s dry heat plus the Santa Ana winds means dust accumulates on photo eye lenses constantly. A gate that reverses without cause might just need a lens cleaning, or it might have a misaligned beam. Disconnecting is the wrong fix for a dull housekeeping problem.
If you’re running a Mighty Mule or Ghost Controls operator on a residential driveway, the UL 325 requirements still apply. These are lighter-duty units, but the entrapment protection mandate doesn’t scale down with gate size. A 40-pound gate on a 10-foot driveway can still injure a child. The legal exposure is identical.
Genuinely Safe DIY Tasks: What You Can Do This Weekend
Not everything requires a phone call. Some gate maintenance is genuinely within reach for a careful homeowner, and doing it yourself saves real money. Here’s the difference: these tasks either don’t involve the operator’s internals, don’t touch electrical wiring, or don’t affect safety compliance.
- Lubrication. Hinges, pivot points, and the operator’s mechanical arm benefit from a proper lithium-based or silicone lubricant. Avoid WD-40, which displaces grease and attracts dust in Anaheim’s dry climate. Spray the hinge barrel, work the gate back and forth, and wipe up excess. This is a quarterly job for gates facing west, since the afternoon sun bakes lubricant out faster.
- Photo eye cleaning. If your gate reverses or refuses to close, start here. Dust, Santa Ana grit, and irrigation overspray coat the lenses. Use a soft damp cloth, no solvent, check the alignment hasn’t shifted, and test the gate. This solves more “broken” gates in Anaheim than any other single fix.
- Remote reprogramming. Every major brand, from Mighty Mule to LiftMaster to Elite, has a published remote pairing sequence. If your remote stopped working, check the battery first, then follow the pairing steps from the manufacturer’s manual. You’re not opening the operator. You’re just teaching it to recognize your remote again.
- Limit switch adjustment. If your gate isn’t opening or closing fully, the limit switches may need a small adjustment. On residential swing arm operators, these are often external dials or buttons. Check your model’s manual. If the adjustment requires opening the control housing or touching wiring, stop and call.
- Visual inspection. Walk the gate’s full travel path. Look for cracked welds, loose brackets, worn wheels on slide gates, debris in the track, and vegetation forcing alignment changes. You’re not fixing anything here, just documenting what you see so a technician can quote accurately over the phone.
These five tasks account for the majority of “my gate won’t close” calls we get in Anaheim. A surprising number of gates don’t need repair at all, they need maintenance. The photo eye lens on a property near the 91 freeway picks up brake dust and exhaust film faster than one in the Flats. Knowing your gate’s microclimate helps you stay ahead of false-alarm problems.
Never DIY: The Tasks That Require a Licensed Tech
Now the hard list. These are the jobs where DIY crosses into California code violation, warranty void, or genuine safety risk. Our position isn’t corporate gatekeeping, it’s the same list you’d get from any licensed contractor in Orange County.
- Control board replacement. The board connects to 120V line voltage in most operators. California requires a licensed electrician for line-voltage work, and for good reason. Control boards also carry stored charge in their capacitors. A homeowner can replace the board, the gate can work, and the installation can still be non-compliant because board configuration affects entrapment protection settings.
- Motor replacement. Even if the motor wires plug in cleanly, the installation requires torque settings, force adjustments, and safety system verification. The manufacturer’s warranty on the new motor depends on authorized installation. This is true for entry-level brands like Ghost Controls and for professional lines like FAAC.
- Structural post or hinge work. A sagging gate means the post is moving or the hinge has worn out of spec. Replacing a post requires concrete work, proper depth for the soil conditions (Anaheim’s older neighborhoods can have expansive soil), and a gate that’s re-hung square. A post set wrong means a gate that binds, a motor that strains, and a repair bill next season that’s double the original.
- Operator replacement. A full operator swap involves electrical disconnect, mounting hardware, arm geometry, force adjustment, and entrapment protection setup. On a LiftMaster or Viking unit, the setup alone requires test equipment most homeowners don’t own. The warranty on the new operator also requires professional installation in almost every case.
- Any work involving the safety system. If the photo eye, reverse edge, or force settings need work, that’s not a mechanical job. It’s a life safety job. UL 325 compliance is the legal standard, and you want a record that a trained person verified it.
We’ll be direct: if a gate repair involves opening the operator housing, touching anything with a wiring connector, or modifying the structural path, call someone licensed. See our Gate Repair Emergency Preparedness Guide for Anaheim Homes for situations that can’t wait. The money you save doing it yourself is speculation. The liability is guaranteed.
Diagnostic Steps You Can Run Before Calling Anyone
Here’s where DIY genuinely pays off. Before you call a gate company in Anaheim, you can run through a diagnostic sequence that either fixes the problem or narrows it to the point where the phone diagnosis is free. A good tech will ask these questions anyway. Having answers ready saves a service call fee or at least shortens the on-site visit.
- Check power. Is the operator plugged in? Is the circuit breaker tripped? In older Anaheim homes, outdoor circuits sometimes share a breaker with a bathroom or garage outlet. Reset and retest.
- Check the battery backup. Many operators have a battery for power outages. If the battery is dead and the operator tries to run on it, the gate may move sluggishly or not at all. Disconnect the battery (when safe, per the manual) and test on line power.
- Check the remote battery. Sounds obvious. It’s the most common cause of “my gate won’t open” calls we get. Replace the remote battery first, then try the wall switch or keypad.
- Look at the photo eyes. Are the lenses clean? Is the alignment light on? Are they both pointing at each other? In Anaheim’s dust, this is a weekly check that prevents most phantom-reversal complaints.
- Walk the track or travel path. For a slide gate, check the wheels, track, and V-rail for debris, gravel, or a rock that rolled into the path. For a swing gate, watch the hinge area for new cracks or movement as the gate travels.
- Test the keypad. If the remote works but the keypad doesn’t, the problem is in the keypad or its wiring, not the operator. That’s a smaller, cheaper repair.
- Write down the operator brand and model. The label is usually on the side or bottom of the housing. When you call a gate company, having the brand and model means the technician shows up with the right parts and wiring diagrams instead of using your driveway as a research library.
These steps take fifteen minutes and cost nothing. They also protect you from one of the most common gate repair invoices in Anaheim: a service call fee for a problem the homeowner could have identified as a dead remote battery in 30 seconds.
When a Simple Fix Masks a Deeper Problem
The most expensive gate repairs in Anaheim start with a homeowner trying to save money. Here’s the classic pattern. A gate starts making a grinding noise. The homeowner lubricates the roller or hinge. The noise goes quiet for a week. Then the gate binds, the motor strains, and the operator burns out. The lubrication didn’t fix the problem, it masked it, and the eventual repair includes a new roller assembly, possibly a new motor, and the labor to undo the damage from running a bad bearing under load.
We see this with slide gates especially. A wheel with a worn bearing lets the gate settle a quarter-inch. That quarter-inch changes the alignment, the chain or belt loads unevenly, and the operator works harder on every cycle. Silicon spray on the track makes it quieter but doesn’t repair the bearing. Three months later, the operator fails, and the homeowner is looking at a repair bill triple what replacing the wheel would have cost.
Same story with swing gates. A gate that sags slightly at the latch side isn’t “just a little low.” It means the hinge post is leaning, the hinge pin is ovaled out, or the gate frame has cracked at a weld. Adjusting the operator’s limit switch to “make it close” doesn’t fix the sag. It just forces a damaged gate through its travel, accelerating everything waiting to fail.
The principle here is simple: noise, sag, and stubborn movement are symptoms, not the disease. Lubricant, adjustment, and force settings treat symptoms. If the symptom disappears for a week and returns, the underlying problem is still there, and it’s eating your operator from the inside.
This is where gate-only specialization matters. A technician who works on gate operators daily has seen your exact symptom on your exact brand a dozen times. The weird grind on a LiftMaster slide operator means something specific. The same noise on a FAAC hydraulic unit means something else. Generalists guess. Gate specialists recognize. That recognition is the difference between a $200 repair and a $1,200 replacement that happens anyway six months later.
What Gate Repair Actually Costs in Anaheim
Let’s talk numbers, because the DIY decision is always partly about money. Here’s what gate work actually runs in Anaheim as of 2025. These are market ranges, not quotes, and your gate’s brand, age, and condition move the needle within them.
| Service | Typical Anaheim Range | Notes |
|---|---|---|
| Service call / diagnostic | $75 – $125 | Often waived with repair |
| Photo eye replace or realign | $125 – $225 | Most common residential fix |
| Remote reprogram or replace | $60 – $150 | Depends on brand and remote type |
| Wheel or roller replacement | $200 – $400 each | Slide gates, includes alignment |
| Control board replacement | $400 – $900 | Brand and model dependent |
| Operator replacement (residential) | $1,200 – $2,400 | Installed, with safety verification |
| Full gate replacement (single swing) | $2,000 – $5,000+ | Includes gate, operator, safety edges |
At Ironcrest Gate Repair home base of operations, we quote every repair before work begins. You’ll know the price before our technician touches the gate. That’s not a perk, it’s the only way to run a gate business in Anaheim where people have been burned by open-ended invoices before.
You can also visit our Gate Repair in Brea page for a deeper breakdown of repair pricing structure, or check Electric Gate Repair in Brea for operator-specific cost factors.
Common Mistakes to Avoid
- Treating a gate operator like a garage door opener. A garage door operates inside a protected track with balanced springs. A gate swings or slides in the open, with wind load, sun load, and pedestrian traffic. The forces and failure modes are completely different. Techniques that work on one don’t transfer.
- Buying parts before diagnosing. “The gate won’t open, so I’ll buy a new remote.” Then the remote doesn’t fix it because the problem is a dead battery backup or a tripped breaker. You’ve spent $60 on a part that wasn’t broken and still need the real fix.
- Lubricating without cleaning first. Spraying lubricant over Anaheim dust and grit turns it into grinding compound. Clean the part, then lubricate, then wipe off excess. Never just hose a hinge in oil and call it done.
- Ignoring small noises. A gate that starts making a new sound is telling you something. Waiting until it stops moving entirely is the most expensive postponement in this trade. It’s the difference between a wheel bearing and a full operator.
- Disconnecting safety features to “fix” problems. The photo eye keeps reversing your gate, so you disconnect it and suddenly the gate works. And is now capable of injuring someone. This is a code violation, a liability grenade, and the first thing any professional will flag and correct.
- Using the wrong lubricant. WD-40 is a solvent, not a gate lubricant. It cleans, then evaporates, leaving the metal exposed. Use lithium grease or silicone spray designed for outdoor mechanical use. The difference matters in Anaheim’s dry, hot summers.
- Skipping the manual because “it’s all the same.” A Mighty Mule limit switch adjustment is not the same as a LiftMaster limit switch adjustment. The sequence for an Elite is different from an FAAC. The manual is free and it was written for your exact unit. Read it before touching anything.
When to Call a Professional
Call a gate professional when the problem involves any of these: the operator housing needs to be opened, any wire needs to be disconnected, the gate is structurally sagging or binding, a safety device is malfunctioning, or the operator is under manufacturer warranty. Also call when you’ve run the diagnostic steps above and the problem persists. A gate that’s been making a new noise for more than a week is a gate that’s actively degrading. Every cycle adds wear.
Ironcrest Gate Repair offers free estimates in Anaheim. Call (833) 589-7839. We’ll diagnose the gate, quote the repair before any work begins, and tell you honestly if the unit is worth repairing or if replacement is the smarter long-term move. That advice is included in the estimate, not billed separately. For full replacement work, see our Gate Installation in Brea page for what a complete install includes.
Frequently Asked Questions
You can perform maintenance tasks that don’t involve line voltage electrical work, operator internals, or safety system modification. That means lubrication, photo eye cleaning, remote reprogramming, limit switch adjustment (when external), and visual inspection. Anything inside the operator housing or touching electrical wiring falls under work that should go to a licensed professional under California code.
Yes, in almost every case, yes. Manufacturers including LiftMaster, FAAC, Elite, and Mighty Mule write unauthorized service exclusion into their warranty terms. Opening the operator housing and modifying internal components, even without causing damage, gives the manufacturer grounds to deny future claims. If your operator is under warranty, the repair is free through authorized service. Don’t risk that.
Most Anaheim gate repairs fall between $125 and $900 depending on the work. A photo eye replacement runs $125 to $225. A control board replacement runs $400 to $900. A full operator replacement runs $1,200 to $2,400 installed. Every quote at Ironcrest Gate Repair is agreed before work starts, so there’s no surprise on the invoice.
For emergency gate failures, we prioritize same-day calls in Anaheim when our schedule allows. The fastest way to find out is to call (833) 589-7839. If your gate is stuck open, that’s a security emergency and we treat it as one. If it’s closed but won’t open, we can usually work you in within 24 hours.
We service nine major gate operator brands across residential and commercial lines, including LiftMaster, FAAC, Elite, Mighty Mule, BFT, DoorKing, Linear, Viking, and Ghost Controls. That brand fluency means the technician who shows up at your Anaheim gate has worked on your specific model before and isn’t figuring it out in your driveway.
No, not first. Grinding usually means a worn bearing, wheel, or hinge pin, not a lubrication problem. Lubricant quiets the noise temporarily while the underlying wear continues. The correct move is to identify what’s grinding before anything else. Call (833) 589-7839 and describe the noise. We can usually narrow it down by sound and gate type over the phone.
The Bottom Line
The DIY-versus-professional gate repair decision comes down to three things: warranty exposure, legal liability, and whether the symptom you’re treating is the actual problem. Safe DIY tasks exist and save real money (browse more guides & resources). But the line is bright: electrical, structural, and safety-system work belongs to a licensed professional, and in Anaheim, the cost of getting that wrong is higher than the cost of getting it right the first time. When the gate matters, call someone who works on gates all day, every day, and who knows your brand before they see your driveway.
Written by the team at Ironcrest Gate Repair, serving Anaheim since 2017.
See the difference
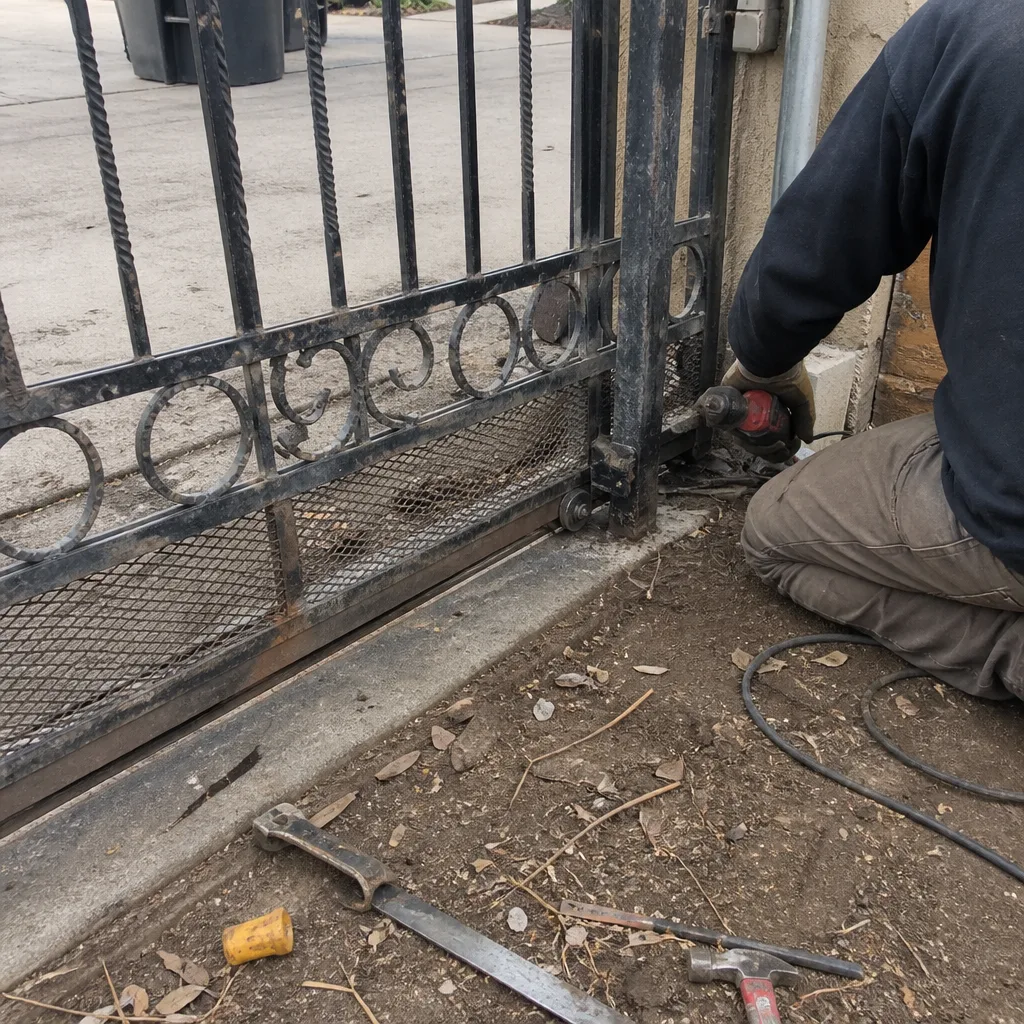 Before
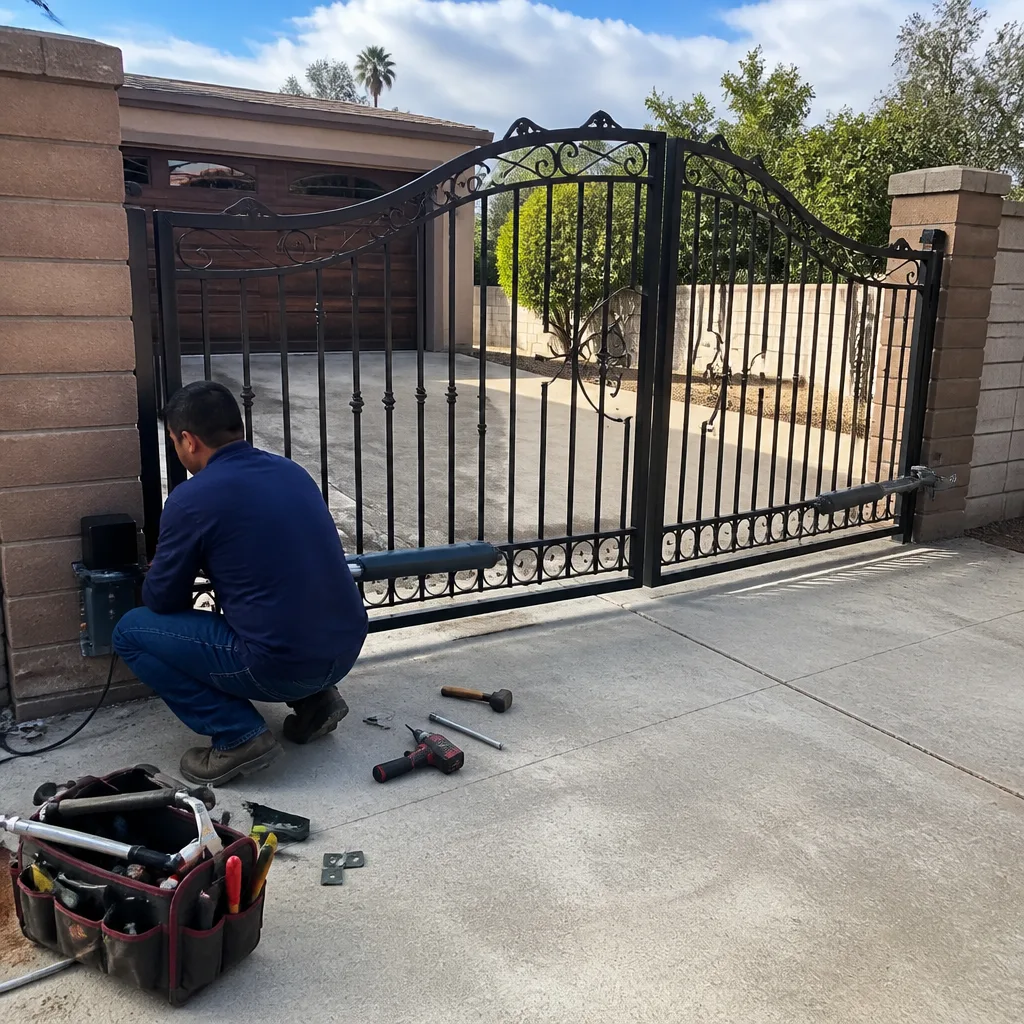 After
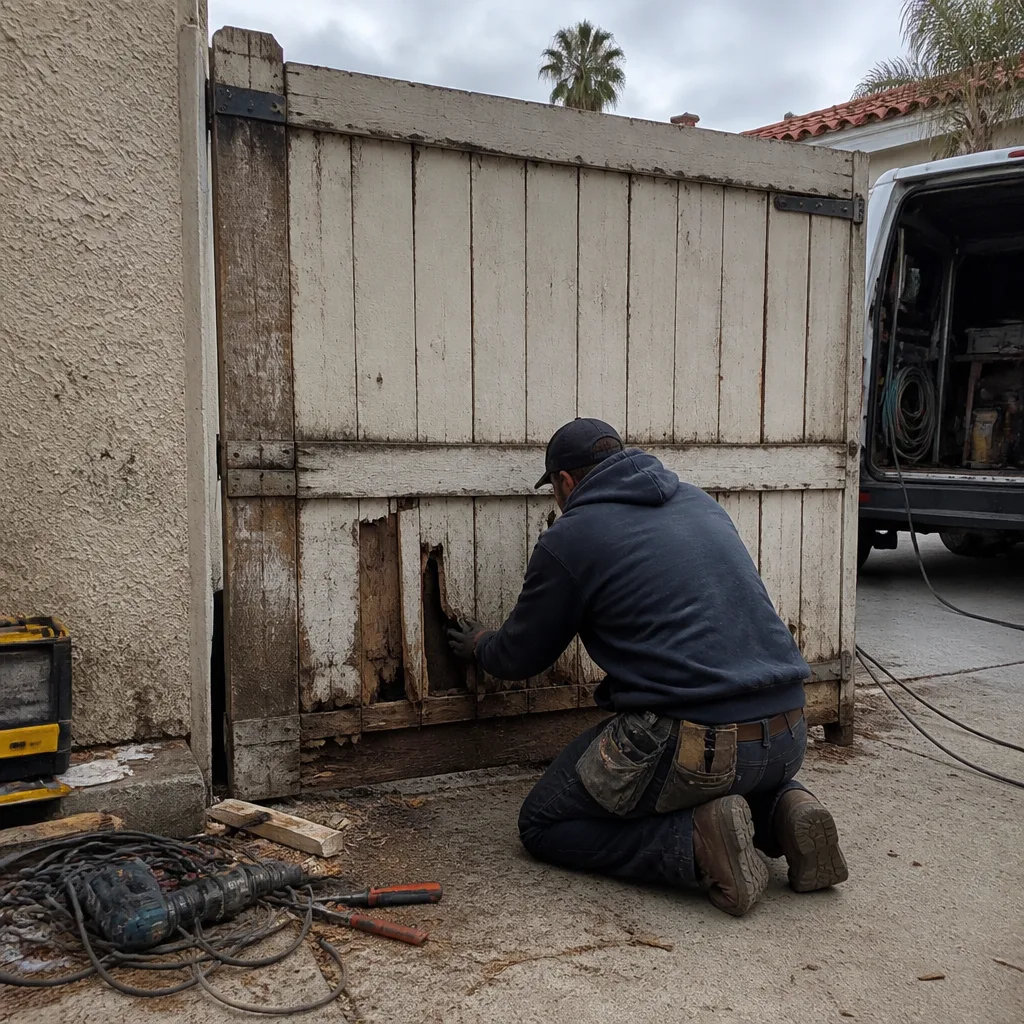 Before
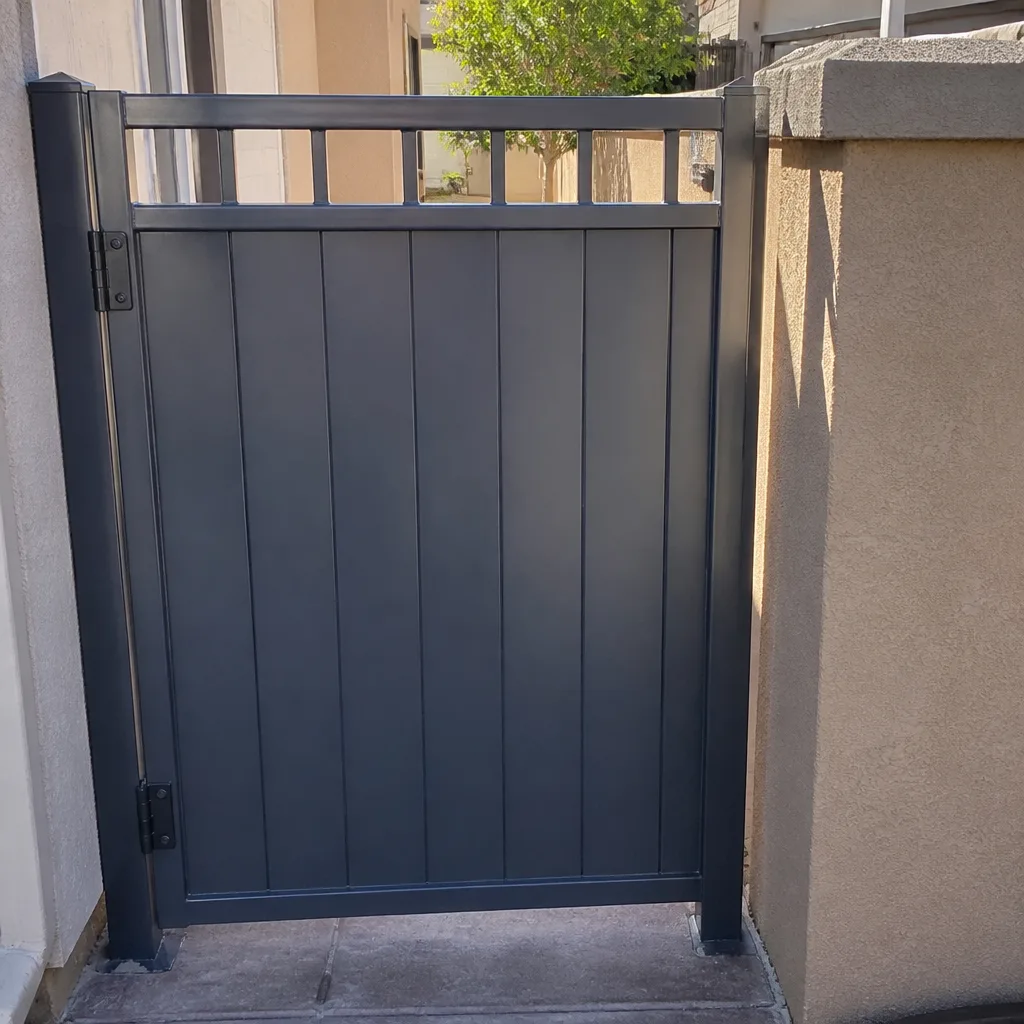 After
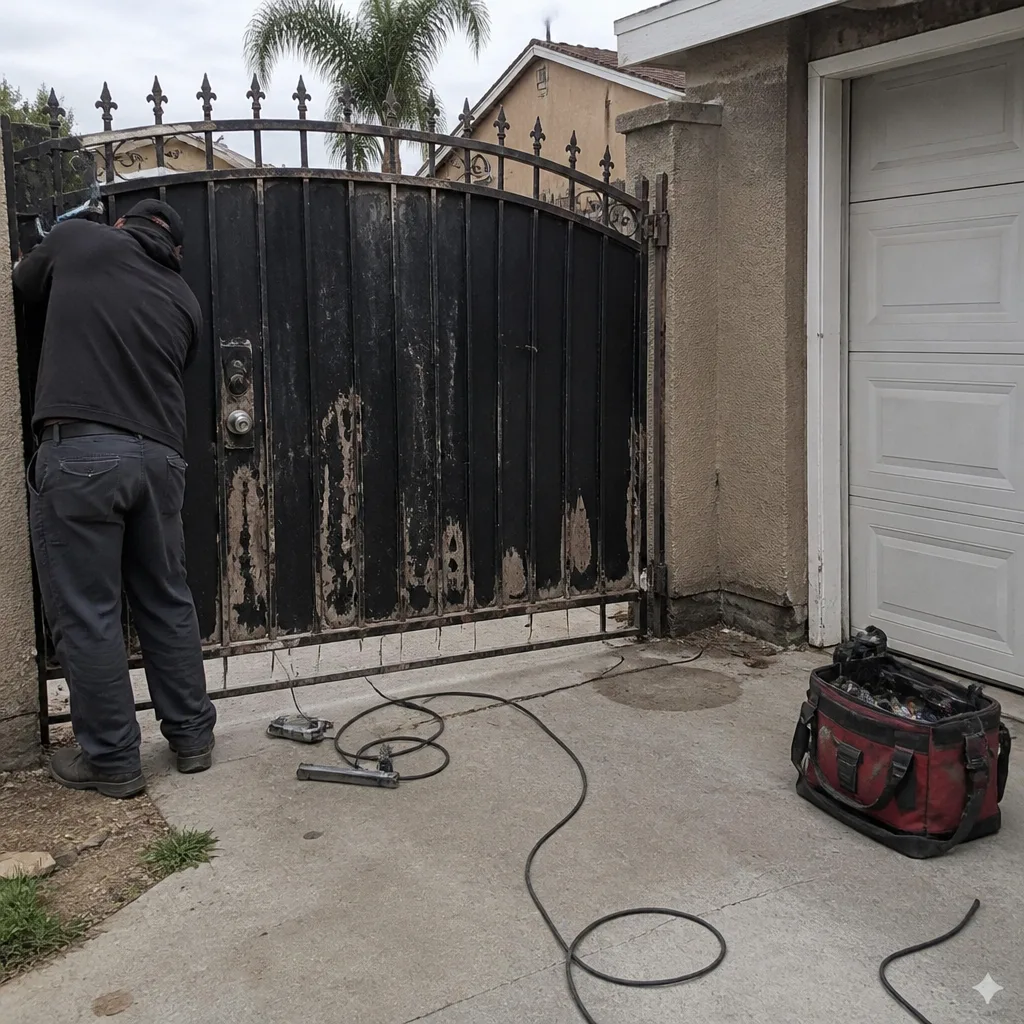 Before
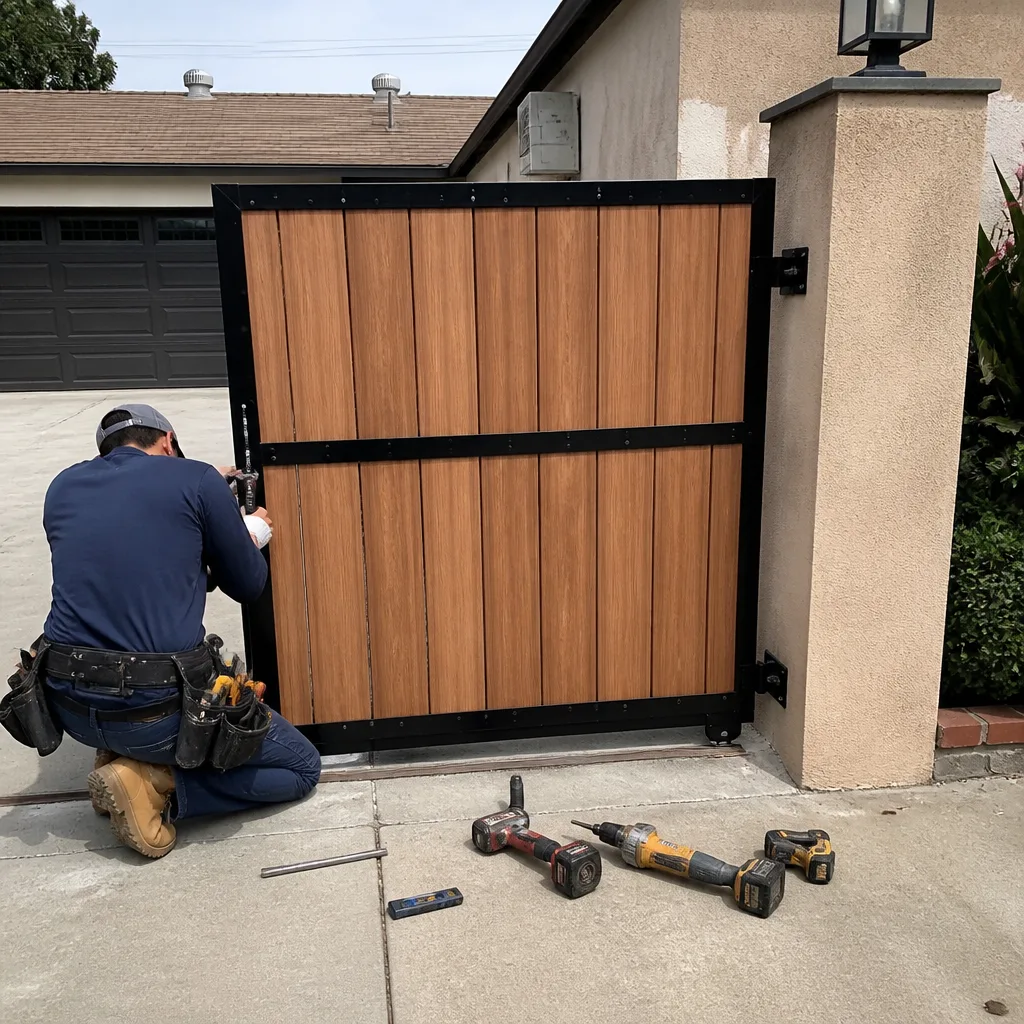 After